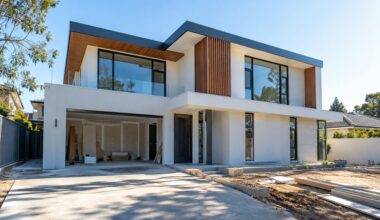
A custom home is an opportunity to create spaces that support the way your household actually lives. Successful luxury home construction starts well before cabinets, tile, or paint colors are selected. The earliest decisions about land, site conditions, budget, and project responsibilities affect nearly every choice that follows.
Good planning cannot eliminate every surprise, but it can reduce avoidable redesigns, unclear allowances, and last-minute decisions. Before design begins, create a simple project brief that identifies your preferred location, approximate home size, must-have rooms, future needs, budget range, and target move-in window.
For example, a family may need a quiet office, a main-level guest suite for visiting parents, room for outdoor gear, and a practical path from the garage to pantry storage. Listing those needs early gives the designer and builder a clearer basis for making tradeoffs.
Step 1: Set A Complete Project Budget
The house itself is only part of the total project cost. Build a budget that includes land and closing costs, architecture and engineering, surveys and testing, permits, site work, utility connections, construction, appliances, exterior improvements, moving, insurance, and temporary housing if needed.
Separate must-have features from nice-to-have upgrades, then reserve funds for unknown site conditions, pricing changes, or design revisions. When comparing proposals, look beyond the base price. Review the scope, allowances, exclusions, assumptions, and responsibility for each item.
Step 2: Test The Lot Before Committing
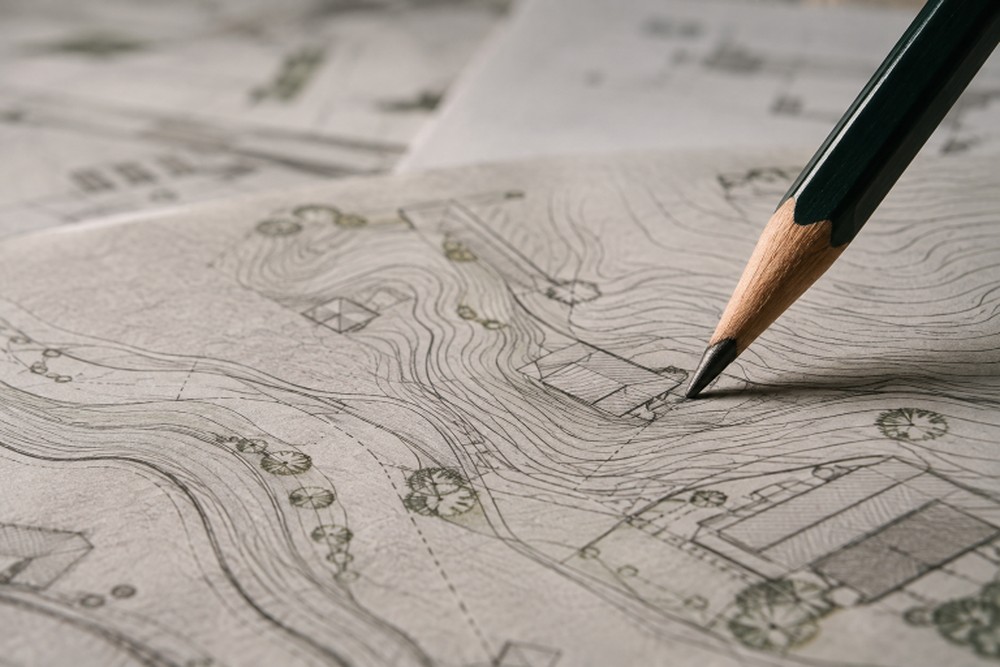
A scenic lot can still create major building challenges. Confirm zoning, setbacks, easements, road access, topography, soils, drainage, tree rules, utility availability, and any flood, wetland, wildfire, or critical-area limitations. A survey and appropriate site reports should inform the floor plan rather than follow it.
Permit procedures also vary by jurisdiction. In Washington, local project review requirements serve as a useful reminder that early permitting research can affect the project timeline and the documentation required for approval.
Step 3: Build The Right Project Team
A coordinated team may include the homeowner, architect or residential designer, builder, structural engineer, surveyor, geotechnical professional, interior designer, lender, insurance adviser, and local permitting staff. Each participant should understand what decisions they own and what information they need from others.
Set communication expectations before work begins. Keep one shared set of current drawings, specifications, selections, schedule dates, and meeting notes. Ask how changes will be priced, approved, and communicated when the schedule shifts.
Step 4: Shape The Home Around Daily Life
Design around routines instead of copying a popular floor plan. Consider where groceries enter, where shoes and bags collect, how people move through the kitchen, where focused work can happen, and whether guests can visit without passing through private areas.
Storage, natural light, privacy, views, outdoor connections, and flexible rooms all deserve early attention. A slightly wider hallway, a nearby utility room, or a well-placed drop zone can make a home easier to use every day without increasing visual clutter.
Step 5: Plan For Comfort And Energy Use
Comfort comes from the whole home working together. Discuss insulation, air sealing, window placement, shading, ventilation, moisture control, and properly sized equipment before construction documents are complete. Plan for future maintenance and consider practical additions such as electric vehicle charging, smart wiring, or backup power readiness where appropriate.
The whole-home performance approach used by the Department of Energy’s efficient new homes program highlights how energy efficiency, comfort, health, durability, and third-party verification can work together in new construction.
Step 6: Prepare Drawings, Selections, And Permits
Early concepts establish direction, while construction documents communicate what will be built. Review room sizes, circulation, windows, doors, lighting, outlets, cabinetry, plumbing fixtures, mechanical equipment, exterior materials, and drainage details before permits and pricing are finalized.
Identify long-lead products early, including windows, specialty doors, cabinets, appliances, and electrical equipment. More complete plans reduce the number of unanswered questions during permit review and construction.
Step 7: Create A Realistic Construction Schedule
A typical sequence includes final design and engineering, permits, site preparation, foundation work, framing, weather protection, rough-ins, insulation, drywall, finishes, exterior work, inspections, corrections, and the final walkthrough. Weather, inspections, delivery timing, site conditions, and approved changes may alter the sequence.
Use one shared schedule to track decisions, approvals, product deliveries, payment milestones, and inspection dates. A schedule is most useful when it clearly shows what must happen next and who is responsible.
Step 8: Control Changes During Construction
A change order is a written adjustment to the scope, price, materials, or schedule. Avoid relying on verbal requests. Each change record should explain the requested work, the reason, the cost effect, the schedule effect, the drawing reference, and the required approvals.
A practical rule is simple: pause, price, document, approve, then build. Review the remaining contingency after significant changes so the budget remains visible throughout construction.
Step 9: Prepare For The Final Walkthrough
Plan enough time to test doors, windows, locks, cabinets, plumbing fixtures, drains, heating and cooling controls, ventilation, lights, outlets, appliances, railings, drainage, paint, flooring, and tile. Create a punch list with photos, locations, responsible parties, and target completion dates.
Collect warranties, manuals, permits, inspection records, product details, and maintenance instructions before closing out the project. These records can make future repairs, maintenance, and warranty questions easier to manage.
Common Questions About Custom Home Planning
How Early Should Planning Begin?
Planning should begin before land is purchased or final plans are drawn. Early research helps determine whether the desired home fits the site, rules, and budget.
Should The Lot Or Floor Plan Come First?
The lot should usually be studied first. Site conditions can affect the home’s footprint, orientation, foundation, access, drainage approach, and overall cost.
When Should Selections Be Made?
Make major selections before the related trade needs them. Earlier decisions support better pricing, ordering, coordination, and schedule management.
Final Planning Checklist
- Review the lot for zoning, access, utilities, drainage, and soil conditions.
- Include land, design, permits, site work, construction, and move-in costs in the budget.
- Document team roles, communication methods, allowances, and exclusions.
- Confirm the floor plan supports current routines and future needs.
- Use a written process for selections, schedule updates, and change orders.
- Prepare a documented punch list and collect final project records.
Conclusion
A custom home build is easier to manage when decisions happen in the right order. Start with the land, establish a complete budget, assemble a coordinated team, and design for real daily life. Careful preparation gives homeowners more clarity from the first site visit through the final walkthrough.