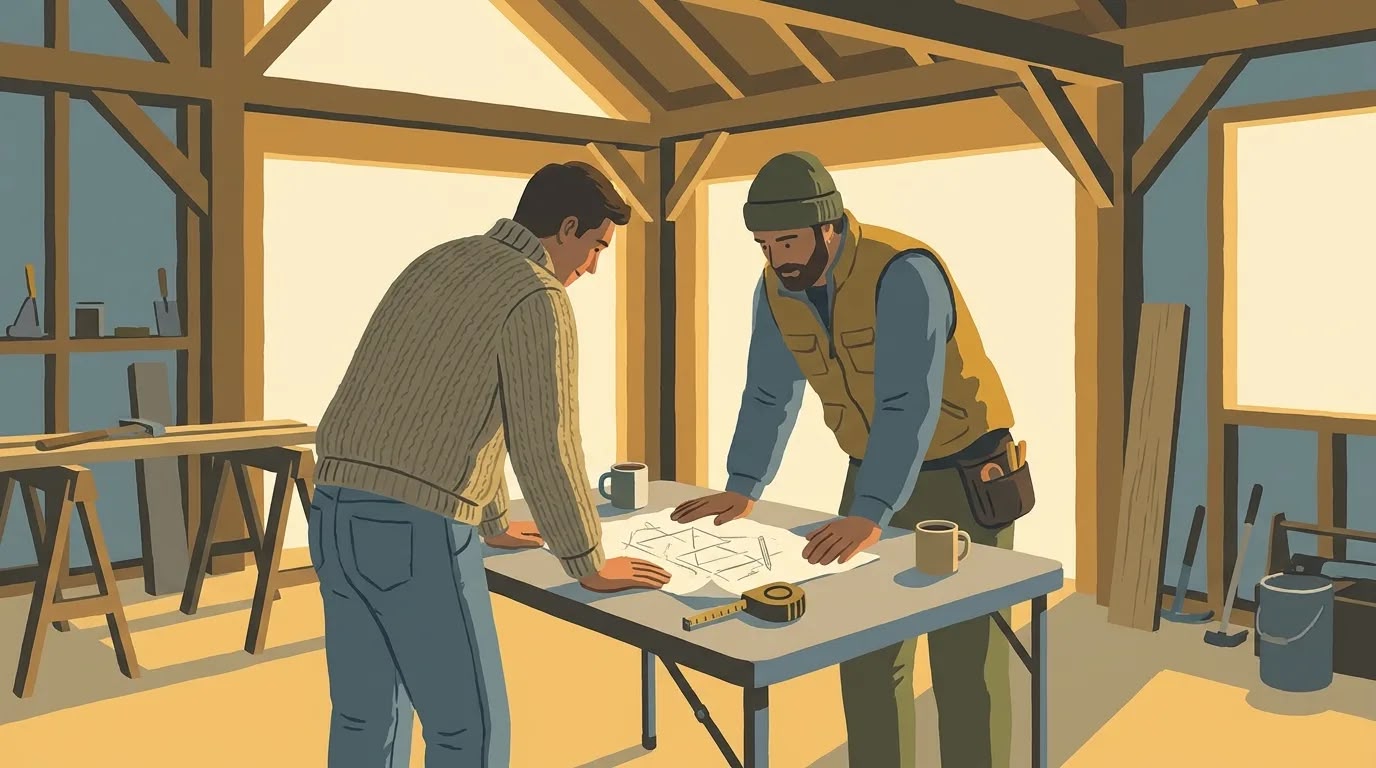
Most home additions start on a napkin. You know the family room should open onto the garden, you know the back door needs somewhere to dump boots, and you have a rough sense of how big it all should be. Then you try to draw it, and the drawing does not survive contact with a second opinion.
A sketch communicates intent. It does not communicate dimensions, and that gap is where addition projects lose weeks.
The contractor reads your sketch and prices what they think you drew. Your partner reads the same sketch and pictures a different room. Somewhere in the third conversation, someone says “wait, I thought the mudroom was on this side,” and the quote you were about to accept turns out to be for a different house.
The usual fix is to hire a designer for a set of drawings before you know whether the project is even affordable. That is a reasonable step once you are committed. It is an expensive way to answer “does this layout work at all.”
The cheaper fix is to get the layout on paper properly first — with room labels and real dimensions — so every conversation after that is about the same building.
Describing the Space Instead of Drawing It
Drafting software assumes you can already draft. You drag a wall, set its length, drag the next one, and discover four rooms later that the proportions were wrong from the start.
FloorDrafter is an AI floor plan generator that works the other way around. You write down what the space contains — rooms, sizes, what connects to what — and it produces a labeled plan with dimensions. Changing the layout means editing a sentence rather than redrawing walls, which matters when you are still deciding.
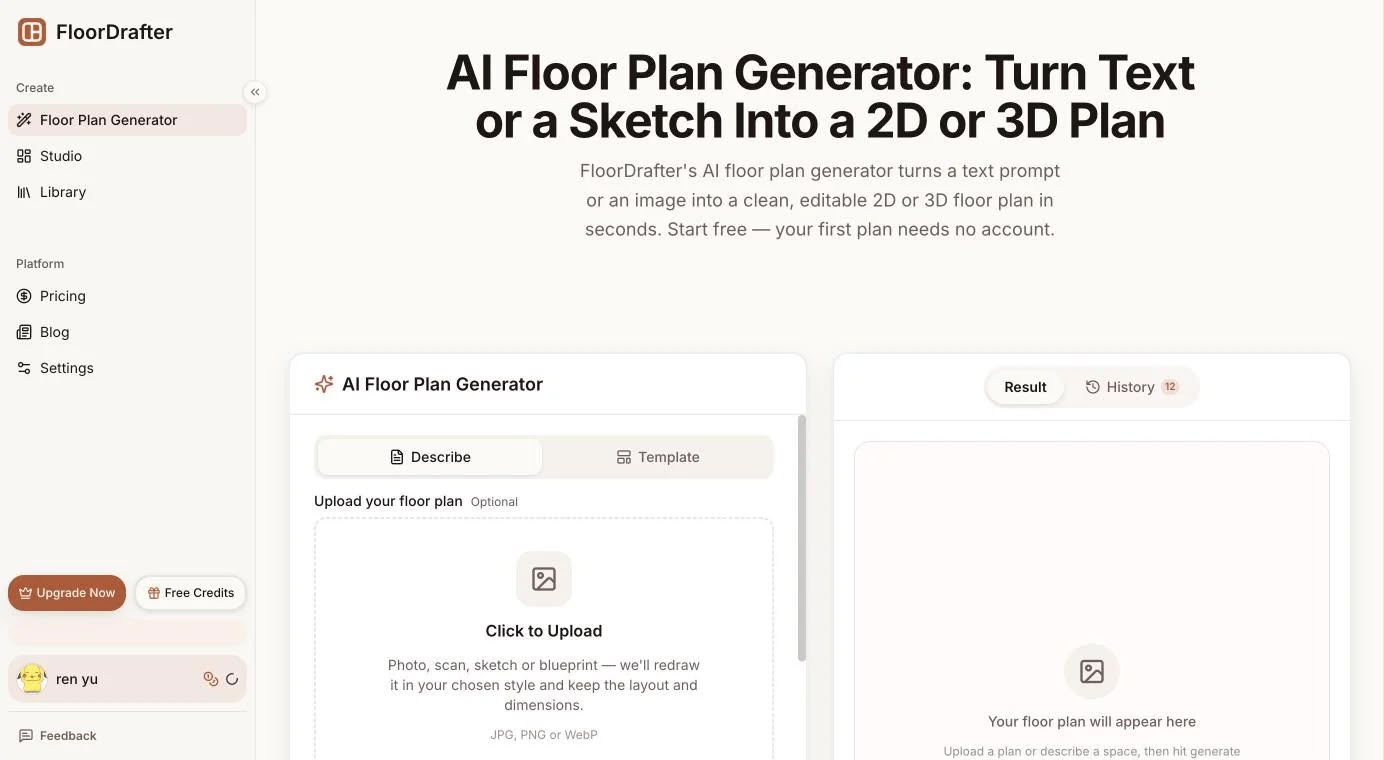
It is worth being clear about the boundary. FloorDrafter cannot produce stamped construction documents, and no AI tool can — permit drawings still go through a licensed professional in your jurisdiction. What you get is a layout accurate enough to hand a contractor for a conversation and a rough quote.
How to Make a Floor Plan for an Addition: Step by Step
Before you start
You need either a written description of the space or a photo of a sketch. Photos can be JPG, PNG or WebP.
The first plan runs without an account. After that each generation costs credits, and the free output carries a watermark. Watermark-free files and CAD export sit on the paid tiers, so if you need a clean file to email a contractor this week, budget for that.
Step 1 — Write the brief like you would describe it out loud
Give the room list, the size of each room, and anything that has to stay where it is. Existing rooms matter as much as new ones — the plan has to show how the addition meets the house.
A brief for a rear addition might read:
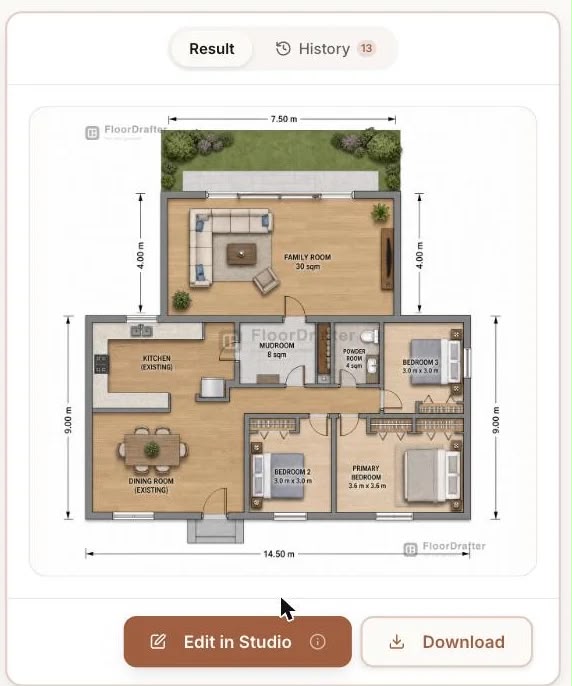
Single-story rear addition to a ranch house. New family room 30 sqm with sliding doors to the garden. New mudroom 8 sqm connecting to the existing kitchen. Powder room 4 sqm. Keep the existing kitchen and dining room unchanged.
That is four sentences. It is also more specific than most napkin sketches, because writing forces you to commit to numbers.
Step 2 — Pick the output that matches your audience
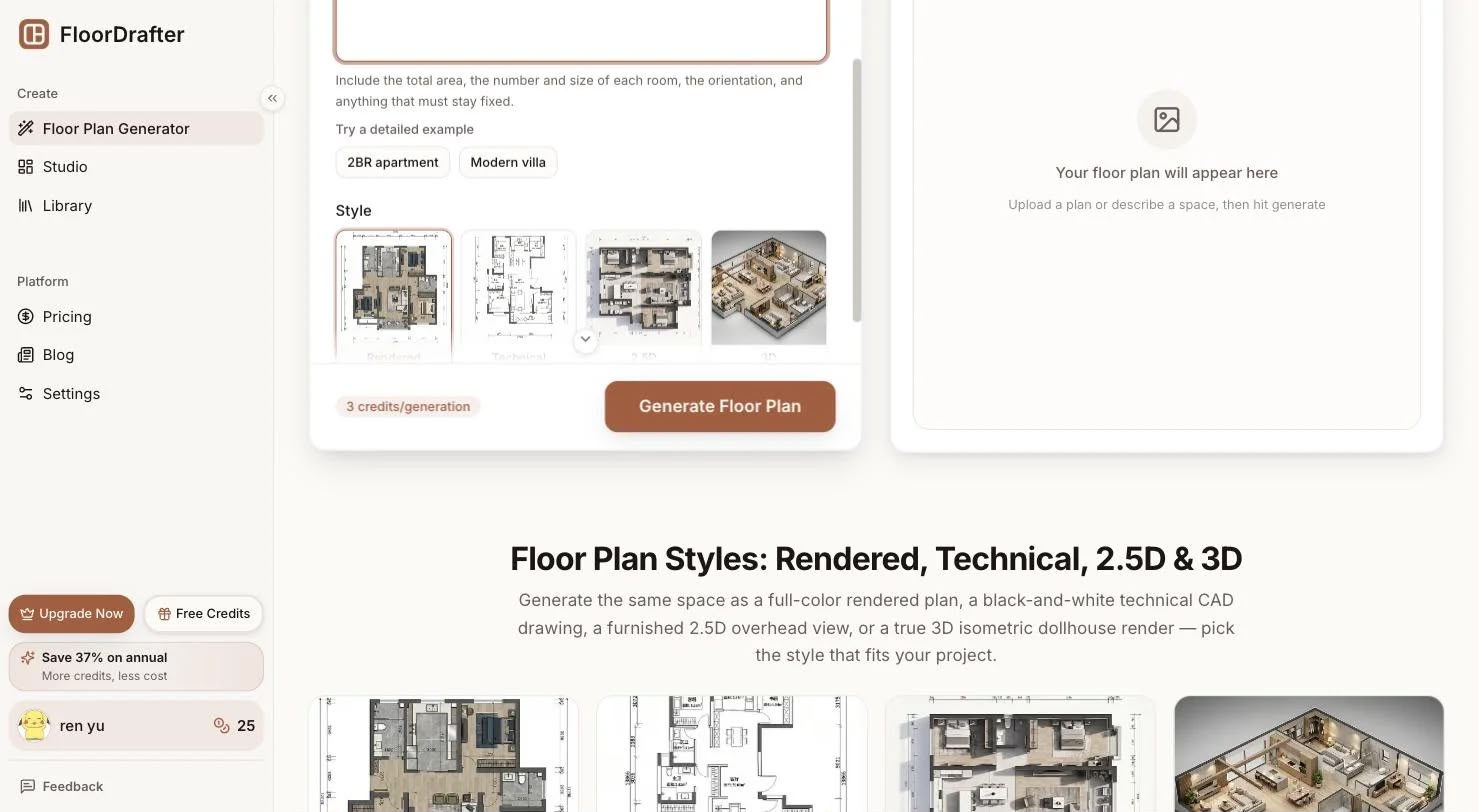
There are four styles. A furnished colour plan reads best for a spouse or a client who wants to picture the room. A black-and-white technical drawing reads best for a builder who wants to see walls and openings without decoration. Pick for whoever is looking at it next.
Step 3 — Generate, then check adjacency before dimensions
Generation took well under a minute in our run. When the plan lands, resist the urge to check the numbers first.
Check adjacency: does the mudroom actually open onto the kitchen, is the family room on the garden side, did the existing rooms stay where they belong. Adjacency errors mean the brief was ambiguous and need a rewrite. Dimensions are a much smaller fix.
What you get
A labeled plan with room names, room areas and overall dimensions — in the example above, 14.50 m by 9.00 m, with the existing kitchen and dining room marked as existing so nobody prices them twice.
Who a Quick Floor Plan Is Actually For
Homeowners pricing an addition. You are two contractor visits into a project and every quote assumes something different. A labeled plan turns a vague walkthrough into a specific conversation, and you get a closer quote because you asked a clearer question.
Remodelers and contractors quoting from a client’s idea. Clients describe rooms; you have to price walls. Generating the layout in front of them during the first visit surfaces the misunderstandings while they are still cheap to fix.
Real estate agents listing a house with no drawings on file. Older homes rarely come with plans. Buyers reading a listing want to know how the rooms connect, and a plan answers that faster than fourteen photos.
Designers and decorators presenting options. Two versions of the same addition, side by side, settle an argument faster than two descriptions of it — and the client stops picturing a different room than you are.
Anyone about to start a permit conversation. You will still need professional drawings, but arriving with a dimensioned layout means the professional is refining your decision rather than making it for you.
None of this removes the trades from the process. It removes the part where three people spend a fortnight discussing three different buildings, and that is usually the part that costs the most.
Start with the sketch already on your kitchen counter. If the plan that comes back does not match what you meant, the brief was ambiguous — and finding that out now is cheaper than finding it out after the concrete is poured.