Glare in drone photos usually appears when strong light reflects into the lens or bounces off bright surfaces below the aircraft. It can reduce contrast, wash out colors, create bright streaks, and hide important detail. The most effective way to prevent it is to control shooting direction, exposure, lens condition, and filtration before takeoff. Small changes in sun position or flight angle can make a major difference. By combining careful camera settings with clean optics and good timing, you can capture clearer aerial images with better color, contrast, and highlight detail.
Understand the Main Causes of Glare in Aerial Photography
Direct Sunlight and Harsh Shooting Angles Create Reflections
Direct sunlight entering the lens at a sharp angle is one of the main causes of glare and flare. When the camera points toward the sun, internal reflections can reduce contrast and create bright artifacts across the image. A drone with camera controls gives you flexibility to adjust direction, so change the aircraft or gimbal angle until strong light no longer strikes the lens directly.
Camera Lens, Filters, and Protective Covers Can Increase Glare
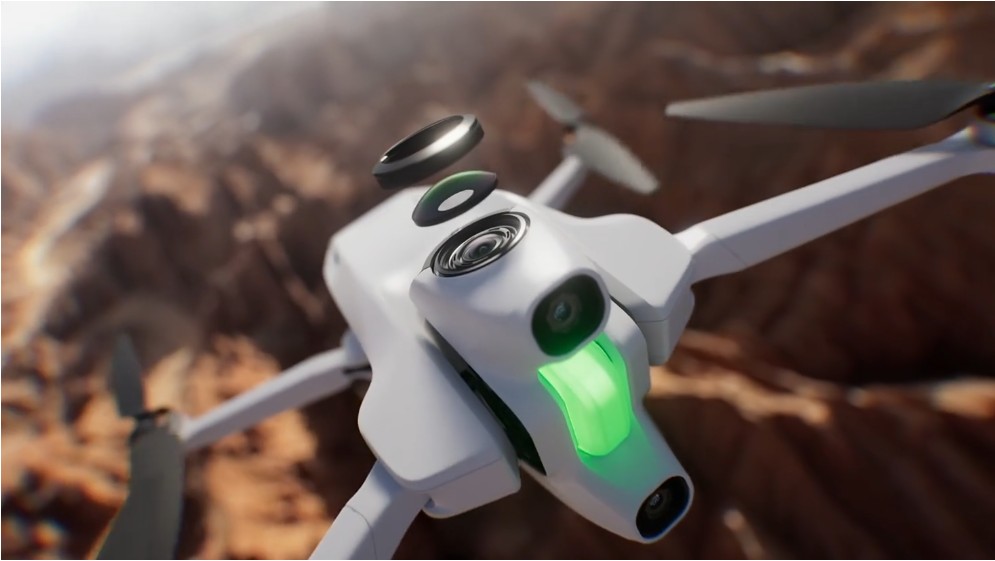
Dirty lenses, scratched filters, and low-quality protective covers can scatter incoming light and make glare more visible. Fingerprints and dust are especially noticeable around bright areas of the frame. Inspect the lens and any attached filter before every flight, and remove unnecessary covers that sit in front of the optics. Clean, undamaged glass usually produces stronger contrast and fewer distracting reflections.
Bright Surfaces Below the Drone Reflect Excess Light
Water, snow, sand, rooftops, and other bright surfaces can reflect sunlight directly toward the camera. These reflections may create hotspots or reduce detail in parts of the image. The effect changes as the drone moves, so monitor the live view throughout the flight. Adjusting altitude, camera angle, or flight direction can help keep reflected light from dominating the composition.
Adjust Drone Camera Settings to Reduce Glare Before Shooting
Use Proper Exposure Settings to Control Overexposed Areas
Lowering exposure helps protect bright areas that would otherwise lose detail. Watch the live view, histogram, or highlight warnings if available, and reduce exposure until reflective surfaces retain texture. Exposure compensation is useful when shooting in automatic or semi-automatic modes. Avoid darkening the scene excessively, though, because recovering heavily underexposed shadows can introduce noise. The goal is to protect highlights while keeping midtones usable and natural.
Adjust ISO, Shutter Speed, and White Balance for Better Detail
Keep ISO as low as practical in bright conditions to preserve detail and reduce noise. Increase shutter speed when necessary for still images, especially when strong sunlight creates excessive brightness. For video, maintain a shutter speed that suits your frame rate and use filtration when more light reduction is needed. Locking white balance can also prevent color shifts as the aircraft changes direction. Consistent settings help a drone with camera systems produce cleaner, more predictable results across a sequence.
Enable HDR Mode When Capturing High-Contrast Scenes
HDR mode can help when a scene contains both very bright highlights and deep shadows. It combines or processes different exposure levels to preserve more detail across the tonal range. This is useful over coastlines, reflective water, bright buildings, or snow-covered terrain. However, HDR does not remove glare itself, so you should still manage camera angle and reflections. Use it as a dynamic-range tool rather than a substitute for careful composition.
Use Accessories and Shooting Techniques for Glare-Free Drone Photos
Install a Quality Lens Filter for Better Light Control
A suitable lens filter can provide better control over light when capturing aerial photos in bright or reflective conditions. Neutral-density filters reduce the amount of light entering the lens, helping photographers manage exposure without relying entirely on camera settings. Polarizing filters can reduce certain reflections and improve contrast when positioned appropriately relative to the light source. Choose a filter based on the lighting conditions, desired exposure, and type of scene you plan to capture. Always use clean, compatible filters that fit securely and do not obstruct the camera’s field of view, interfere with stabilization, or introduce unwanted distortion into the final image.
Change Flight Direction and Shooting Time to Avoid Strong Sunlight
The simplest way to reduce glare is often to change where and when you fly. Position the sun behind or to the side of the camera instead of directly in front of it. Early morning and late afternoon usually provide softer light than midday, which can reduce harsh reflections and improve texture. If glare appears during a flight, reposition the aircraft slightly and compare the live view. A small directional change can remove strong flare without changing camera settings.
Conclusion
Preventing glare in drone photos starts with controlling how strong light reaches the camera. Avoid pointing directly toward the sun, protect highlights with careful exposure, and adjust flight direction when reflections appear. Clean lenses and suitable filters can further reduce unwanted light and preserve contrast. HDR helps when scenes contain a wide brightness range, while thoughtful shooting times provide softer illumination. By combining these techniques, you can reduce glare before it affects the image and capture aerial photos with clearer detail, more natural color, and better overall balance.