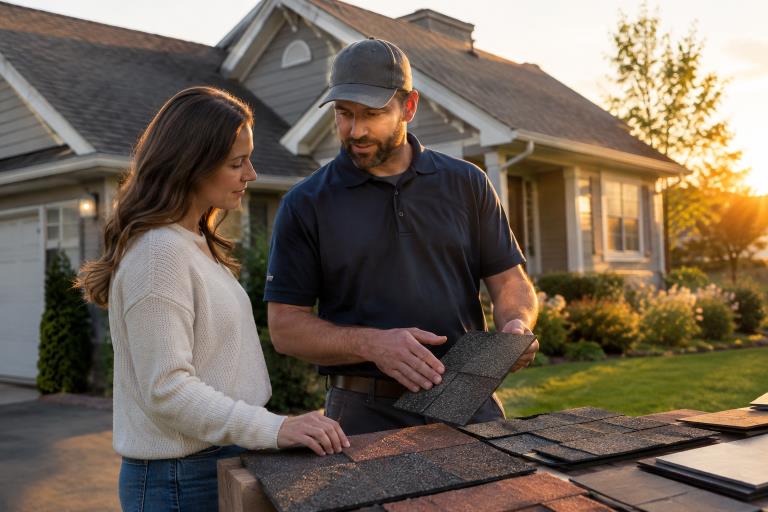
Key Takeaways
- Start with a condition assessment, not a sales quote.
- Compare written proposals by scope of work before comparing total price.
- Choose materials based on climate, roof design, budget, local requirements, and maintenance expectations.
- Make sure decking, flashing, ventilation, permits, cleanup, and warranty terms are written into the contract.
- Complete a documented final walk-through before making the last payment.
A roof replacement is a major home project, but a clear process can make the decision easier to manage. The best choice is not always the lowest quote or the most expensive material. It is the option that addresses the roof’s actual condition, fits the home, and is installed with attention to detail that manages water and weather. Whether the roof has begun leaking, suffered storm damage, or appears worn, homeowners should take the time to document their concerns, ask detailed questions, and compare comparable proposals. A replacement can also be an opportunity to improve flashing, ventilation, drainage, and resilience where appropriate.
Decide Whether Repair or Replacement Makes Sense
A repair may be appropriate when damage is limited to a small, identifiable area and the rest of the roof remains in sound condition. Replacement may deserve stronger consideration when leaks recur, shingles are broadly curled or missing, protective granules are heavily worn away, underlayment is exposed, or the roof deck shows signs of sagging. Age is useful context, but it should not make the decision by itself. Roofs can wear differently depending on installation quality, ventilation, storm exposure, shade, maintenance, and material. Photograph ceiling stains, attic moisture marks, missing shingles, and visible storm damage. Avoid climbing onto a wet, steep, or damaged roof. A qualified inspection can identify conditions that are not visible from the ground.
Build a Realistic Roofing Budget
Roofing prices vary because no two roofs have the same size, pitch, access, materials, labor needs, or removal requirements. The estimate should separate the base scope from potential concealed work, such as damaged decking discovered after old materials are removed.
- Ask whether tear-off, disposal, delivery, permits, and site cleanup are included.
- Request a stated unit price for replacing damaged roof decking if it is found.
- Confirm whether flashing, drip edge, underlayment, vents, and ice-and-water protection are included.
- Keep a contingency in the project budget for hidden conditions.
- Review financing terms carefully, including interest, fees, payment timing, and prepayment rules.
Compare Roofing Quotes Fairly
A lower proposal can appear attractive because important parts of the work are missing, not because the contractor is necessarily more efficient. When conditions allow, request at least three written estimates and provide each contractor with the same basic project information.
- Compare the exact shingle, panel, tile, or other roofing product proposed.
- Check the number of existing layers to be removed.
- Compare flashing, ventilation, decking, permit, and cleanup responsibilities.
- Ask who will perform the work and who will supervise the site.
- Read artistry and manufacturer warranty terms instead of relying on verbal summaries.
Choose the Right Roofing Material
There is no universal best roofing material. A suitable choice depends on the roof slope, architectural style, structural capacity, local code, weather exposure, desired appearance, and long-term budget.
- Asphalt shingles: A widely used option that can fit many home styles and budgets.
- Metal roofing: Often selected for durability and weather performance, though initial costs may be higher.
- Clay or concrete tile: Can complement certain designs, but weight and structural support must be considered.
- Wood shakes: Provide a distinctive appearance but need ongoing maintenance and careful review of local rules.
- Slate: Can offer a long service life, but it is heavy and typically requires specialized installation.
When comparing options, consider service-life expectations, maintenance needs, material weight, appearance, availability of replacements, and how well the proposed system suits local conditions. Product performance depends on proper installation as well as the product itself.
Match the Roof to Local Weather Risks
Weather planning should be specific to the property. Wind-prone areas may call for attention to wind ratings, fastening patterns, flashing, and roof-to-wall connections. Homes exposed to heavy rain need dependable drainage paths, valleys, and flashing details. Snow, ice, coastal salt air, hail, intense sun, humidity, and wildfire embers can each affect material and installation choices. In hot or sunny climates, reflective products may help reduce solar heat absorbed at the roof surface. The Department of Energy explains that cool roofs reflect more sunlight and absorb less heat. Still, the practical benefit for a particular home also depends on insulation, attic design, heating needs, cooling equipment, and local climate. For homes in high-wind areas, ask whether the system is designed and installed for the applicable local requirements. FEMA’s building science resources emphasize the importance of code-conscious construction, credible contractors, and resilient roof details in wind-prone regions.
Review the Contract Before Work Begins
A complete contract reduces confusion when work starts. It should identify the material and color, removal scope, underlayment, flashing, ventilation work, pricing for decking repair, permit responsibility, estimated schedule, weather-delay process, payment schedule, cleanup plan, and warranty terms. Be cautious with vague phrases such as “as needed” unless the contract explains who decides, what the added cost will be, and how approval will be handled. Whenever possible, change orders should be documented in writing before additional work proceeds.
Prepare the Home and Property
Roof replacement is noisy and can create vibration inside the home. Move vehicles away from work areas, protect or relocate attic belongings, remove fragile wall decorations from upper floors, and move patio furniture, grills, planters, and outdoor decorations. Tell the crew about gate access, sensitive landscaping, outdoor wiring, sprinkler components, pets, and any shared driveways. Keep children and pets away from the work zone, and give nearby neighbors advance notice if the project may affect parking or create significant noise.
Check the Work Before Final Payment
Homeowners do not need to climb onto the roof to perform a useful final review. Walk the property with the contractor, inspect visible edges and penetrations from the ground, and check the attic for new signs of moisture or daylight where none should be present.
- Confirm that the agreed material and color were installed.
- Review visible flashing, valleys, vents, drip edges, gutters, and roof transitions.
- Look for leftover debris, nails, packaging, and damage to landscaping or exterior surfaces.
- Request project photos for areas that cannot be safely viewed.
- Collect invoices, warranty documents, permit records, and maintenance guidance.
- Record any unfinished or corrective items in writing.
Conclusion
A successful roof replacement begins with a careful assessment of the existing roof, transparent pricing, appropriate material selection, and close attention to every stage of installation. Before committing to a contractor, take time to compare written estimates, review the proposed scope of work, understand warranty coverage, and confirm that the materials and installation methods are suitable for the home’s structure and local weather conditions. Reading the contract thoroughly can also help clarify project timelines, payment schedules, cleanup responsibilities, and the handling of unexpected issues. Preparing the property in advance by moving vehicles, protecting outdoor belongings, and discussing access arrangements can make the installation process smoother and safer.
Throughout the project, clear communication with the contractor helps ensure that questions are addressed and important details are not overlooked. Once the work is complete, conduct a final walk-through, review the finished installation, confirm that debris and old materials have been removed, and collect relevant warranties, inspection records, and payment documentation. By planning carefully, maintaining realistic expectations, and verifying that the work meets agreed-upon standards, homeowners can turn a disruptive roofing project into a valuable long-term improvement that strengthens weather protection, supports the home’s durability, and provides greater confidence for years to come.