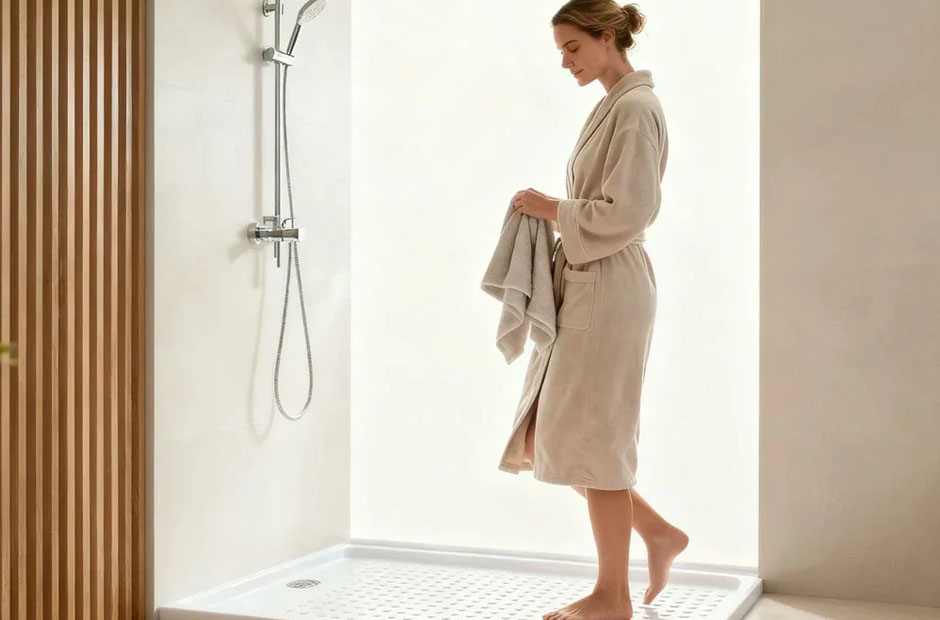
Acrylic showers were once one of the most popular choices in residential bathroom construction — lightweight, warm to the touch, easy to install, and initially attractive. Decades later, many of those same showers are still in place, and the passage of time has not been kind to them.
Yellowing, surface scratches, dull finishes, and stubborn staining are the signature of an acrylic shower that’s past its prime. For homeowners living with one of these showers, the question isn’t whether something needs to be done. It’s what the smartest option is.
This guide answers that question directly. It covers why acrylic showers age the way they do, what professional refinishing can and can’t address, how the process compares to full replacement, and what to look for in a contractor. If you’ve been putting off dealing with a tired acrylic shower because you assumed the only option was an expensive tear-out, there’s a good chance this changes your thinking.
Why Acrylic Showers Degrade Over Time
Acrylic is a plastic-based material formed into sheets and molded into shower pans, surrounds, and enclosures. It has real advantages in new construction: it’s lighter than cast iron or tile, warmer underfoot, and relatively resistant to chipping. But its surface properties also make it susceptible to specific types of degradation that most homeowners encounter within ten to twenty years of installation.
UV exposure and yellowing. Acrylic is inherently sensitive to ultraviolet light. In bathrooms with natural light — skylights, windows, or even bright artificial lighting over long periods — acrylic surfaces can yellow noticeably. This is a chemical change in the material, not a surface deposit, which means it cannot be cleaned away.
Surface oxidation and dulling. Over time, the gel coat or surface finish on acrylic showers oxidizes and breaks down. The once-shiny surface becomes chalky, matte, or hazy. This happens regardless of cleaning habits and accelerates with exposure to harsh cleaning products.
Fine scratching. Acrylic scratches more easily than porcelain or tile. Years of cleaning with abrasive pads or scouring powders leave a network of fine surface scratches that scatter light and make the surface look perpetually dirty even when it’s clean.
Hard water staining. Mineral deposits from hard water etch into the degraded surface of older acrylic, creating staining that resists even aggressive cleaning. In Florida and other regions with mineral-rich municipal water, this is a particularly common complaint.
Crazing. Older acrylic can develop fine networks of surface cracks — a phenomenon called crazing — caused by thermal expansion and contraction over many heating and cooling cycles. Crazing traps dirt, looks unsightly, and can worsen over time if not treated.
All of these conditions share something important: they affect the surface of the acrylic, not its structural integrity. A shower that yellows, dulls, or crazes is not necessarily one that needs to be replaced. It’s one that needs its surface addressed.
What Professional Acrylic Shower Refinishing Involves
Professional acrylic shower refinishing is a surface restoration process that applies a new, durable coating over the existing acrylic, transforming its appearance and restoring its function without removing the shower from the bathroom.
Acrylic requires specific preparation and bonding approaches that differ from porcelain or fiberglass — which is why experience with this particular material matters when choosing a contractor. A professional acrylic refinishing job follows this sequence:
Surface cleaning and chemical preparation. The acrylic is cleaned thoroughly and treated with chemical agents designed to remove oxidation, mineral deposits, and any residual product buildup. This step is more involved than standard cleaning and sets the foundation for everything that follows.
Repair of scratches, chips, and crazing. Surface damage is filled, leveled, and blended. On acrylic, this requires compatible filler materials that flex with the surface rather than cracking away over time.
Light abrasion. The surface is carefully abraded to improve adhesion for the coating system. Over-abrading an acrylic surface can cause damage, so this step requires a practiced hand.
Bonding primer. A primer formulated for acrylic substrates is applied. Adhesion to plastic-based materials is one of the more demanding aspects of shower refinishing, and the right primer is essential to a lasting result.
Topcoat application. A professional-grade two-part urethane or acrylic topcoat is sprayed in even, controlled layers. The finish is smooth, glossy, and uniform — visually indistinguishable from a new acrylic surface.
Curing. The finish cures for 24 to 48 hours before the shower is returned to use. Full hardness develops over several days, during which the surface should be treated gently.
The result is a shower that looks new. The yellowing is gone. The chalky finish is replaced with consistent gloss. The scratches and crazing are repaired and sealed under the new coating. And because the shower itself is still in place, none of the surrounding tile, flooring, or plumbing has been disturbed.
How Refinishing Compares to Replacing an Acrylic Shower
The comparison between refinishing and replacement comes down to four factors: cost, disruption, timeline, and result.
Cost. Full acrylic shower replacement — removing the existing unit, disposing of it, purchasing a new surround or building a tiled shower, and having it installed and waterproofed — is a significant investment. Depending on the approach, materials, and labor market, costs commonly range from $2,500 to $8,000 or more. Professional refinishing costs a fraction of that figure, often delivering comparable visual results.
Disruption. Shower replacement requires demolition work, often involving cutting through surrounding tile or drywall to access and remove the existing unit. This generates debris, exposes adjacent surfaces to potential damage, and can uncover hidden issues like water damage behind the walls. Refinishing involves none of this. A technician works within the existing enclosure, leaving the rest of the bathroom completely undisturbed.
Timeline. A replacement project can take several days to over a week depending on scope and contractor scheduling. Refinishing is typically a one-day job, with the shower out of use for 24 to 48 hours while the coating cures. For households with a single bathroom, that difference in downtime is significant.
Result. Done by a skilled contractor using professional materials, a refinished acrylic shower looks as good as a new one. The surface is smooth, bright, and easy to clean. The color is consistent and fresh. To anyone who wasn’t there before the work was done, it is indistinguishable from a new installation.
Replacement holds an advantage only when the existing shower has structural problems — when the acrylic is cracked through, when there is water damage behind the walls, or when a layout change requires a different configuration. For a shower that is cosmetically worn but structurally sound, refinishing wins on every metric.
Acrylic Shower Refinishing Within a Broader Bathroom Renovation
For homeowners undertaking a larger bathroom renovation, acrylic shower refinishing integrates cleanly into the project plan. Because refinishing is one of the last steps — scheduled after flooring, painting, vanity installation, and fixture work are complete — it doesn’t slow down other trades or complicate the renovation sequence.
This sequencing also protects the refinished surface from construction dust and debris. Scheduling refinishing as the final step means the new finish goes on in a clean environment and is ready for use before any other renovation tasks create the need for the bathroom again.
It’s also worth considering what refinishing the shower enables for the rest of the renovation budget. A homeowner who refinishes an existing acrylic shower rather than replacing it may find that the savings create room for a vanity upgrade, new tile, better lighting, or premium fixtures — improvements that collectively produce a more complete transformation than a new shower alone would have.
If the bathroom also has a bathtub, asking your contractor about addressing both surfaces in the same visit makes practical and aesthetic sense. A unified color and finish across the shower and tub creates a more coherent result than updating one while leaving the other as-is.
What to Ask Before Hiring an Acrylic Shower Refinishing Contractor
The quality range among refinishing contractors is wide, and the difference between a well-executed job and a poor one is not always apparent in a quote. A poorly applied finish will peel, bubble, or yellow within months. A professional job using the right materials and preparation will last for years.
Before hiring, ask these questions:
Do you have specific experience refinishing acrylic? Acrylic requires different bonding approaches than porcelain or fiberglass. A contractor who has worked extensively with acrylic will handle the preparation and primer stages very differently from one who treats all surfaces the same.
What topcoat system do you use? Professional-grade two-part urethane systems offer significantly better durability, adhesion, and color stability than single-component products or consumer-grade coatings. Ask by name and ask why they use it.
How do you handle crazing and surface scratches? A contractor who skips the repair stage or treats it as a minor step is one to be cautious about. Proper repair before coating is what separates a result that holds from one that fails early.
What warranty do you provide? A contractor confident in their work backs it with a meaningful warranty. Vague or very short warranties — or none at all — are a signal about how much confidence they have in the result.
Can I see examples of completed acrylic jobs? Before-and-after photos from real local projects, particularly on acrylic surfaces, are the most reliable indicator of what you can expect.
Maintaining a Refinished Acrylic Shower
A professionally refinished acrylic shower, properly maintained, can look excellent for ten years or more. The care requirements are simple but important to follow, especially in the first few weeks after the coating is applied.
For the first week after refinishing, use the shower gently and avoid any cleaning products. The coating continues to harden during this period, and aggressive use too early can leave marks that are difficult to address later.
For ongoing maintenance, mild liquid soap and a soft cloth or non-abrasive sponge are all you need. Avoid anything abrasive — scouring pads, powdered cleansers, steel wool — and avoid bleach-based or ammonia-based cleaners, which degrade the coating over time.
Ventilation matters too. Running the bathroom exhaust fan during and after showers reduces the heat and moisture exposure that can accelerate coating degradation. If your renovation includes a ventilation upgrade, your refinished shower will benefit directly.
If a chip or scratch does develop over time, contact your contractor promptly. Small repairs are straightforward when addressed early and prevent moisture from penetrating beneath the coating.
Working With a Local Specialist
For homeowners in coastal Florida, the local environment adds a layer of consideration to every bathroom surface decision. High ambient humidity, mineral-rich hard water, and salt air in oceanside communities all accelerate the kinds of surface degradation that make refinishing necessary — and they affect what products and methods will perform best in the long run.
Working with a contractor who regularly serves coastal Florida homes means working with someone whose product selection and application methods are suited to those conditions. Coastal Resurfacing specializes in acrylic and bathroom surface refinishing for residential homeowners throughout Brevard County and the Space Coast, with the local expertise and professional-grade materials to deliver results that hold up in the Florida environment.
A local specialist also brings accountability that a larger, less community-rooted operation may not. When a contractor’s reputation is built in a specific region, the quality of every job they do reflects directly on their ability to earn the next one. That’s a meaningful incentive to get it right.
The Practical Path Forward
An aging acrylic shower doesn’t have to be an expensive problem. In most cases, it’s a surface restoration project — one that a skilled professional can complete in a day, at a cost that represents a fraction of full replacement, with results that genuinely transform how the bathroom looks and feels.
Before committing to a tear-out, get a professional assessment. Ask a qualified contractor to look at the existing shower and give you an honest evaluation of whether refinishing is appropriate. In the majority of cases involving cosmetically worn but structurally sound acrylic, the answer is yes — and the result will likely exceed your expectations.
Your shower has more life in it than it looks like right now. The right treatment can prove it.